ID Check App guide
You can use this if you have a current EU, EEA or Swiss passport with a biometric chip.

Create an account
Create a UKVI account or sign in to your account if you already have one.
Register your email - you should use the email account which you use most frequently.
Create a secure password following the instructions.
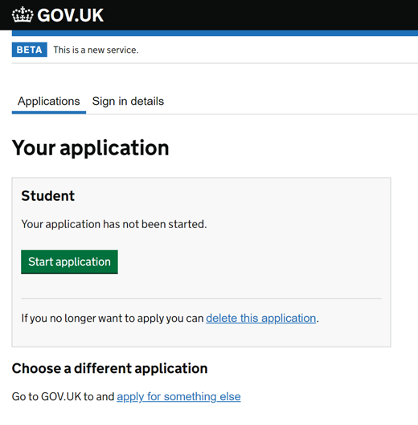
Start application
Once you have created the account, you will need to sign in, enter your details, and click ‘Start application’.
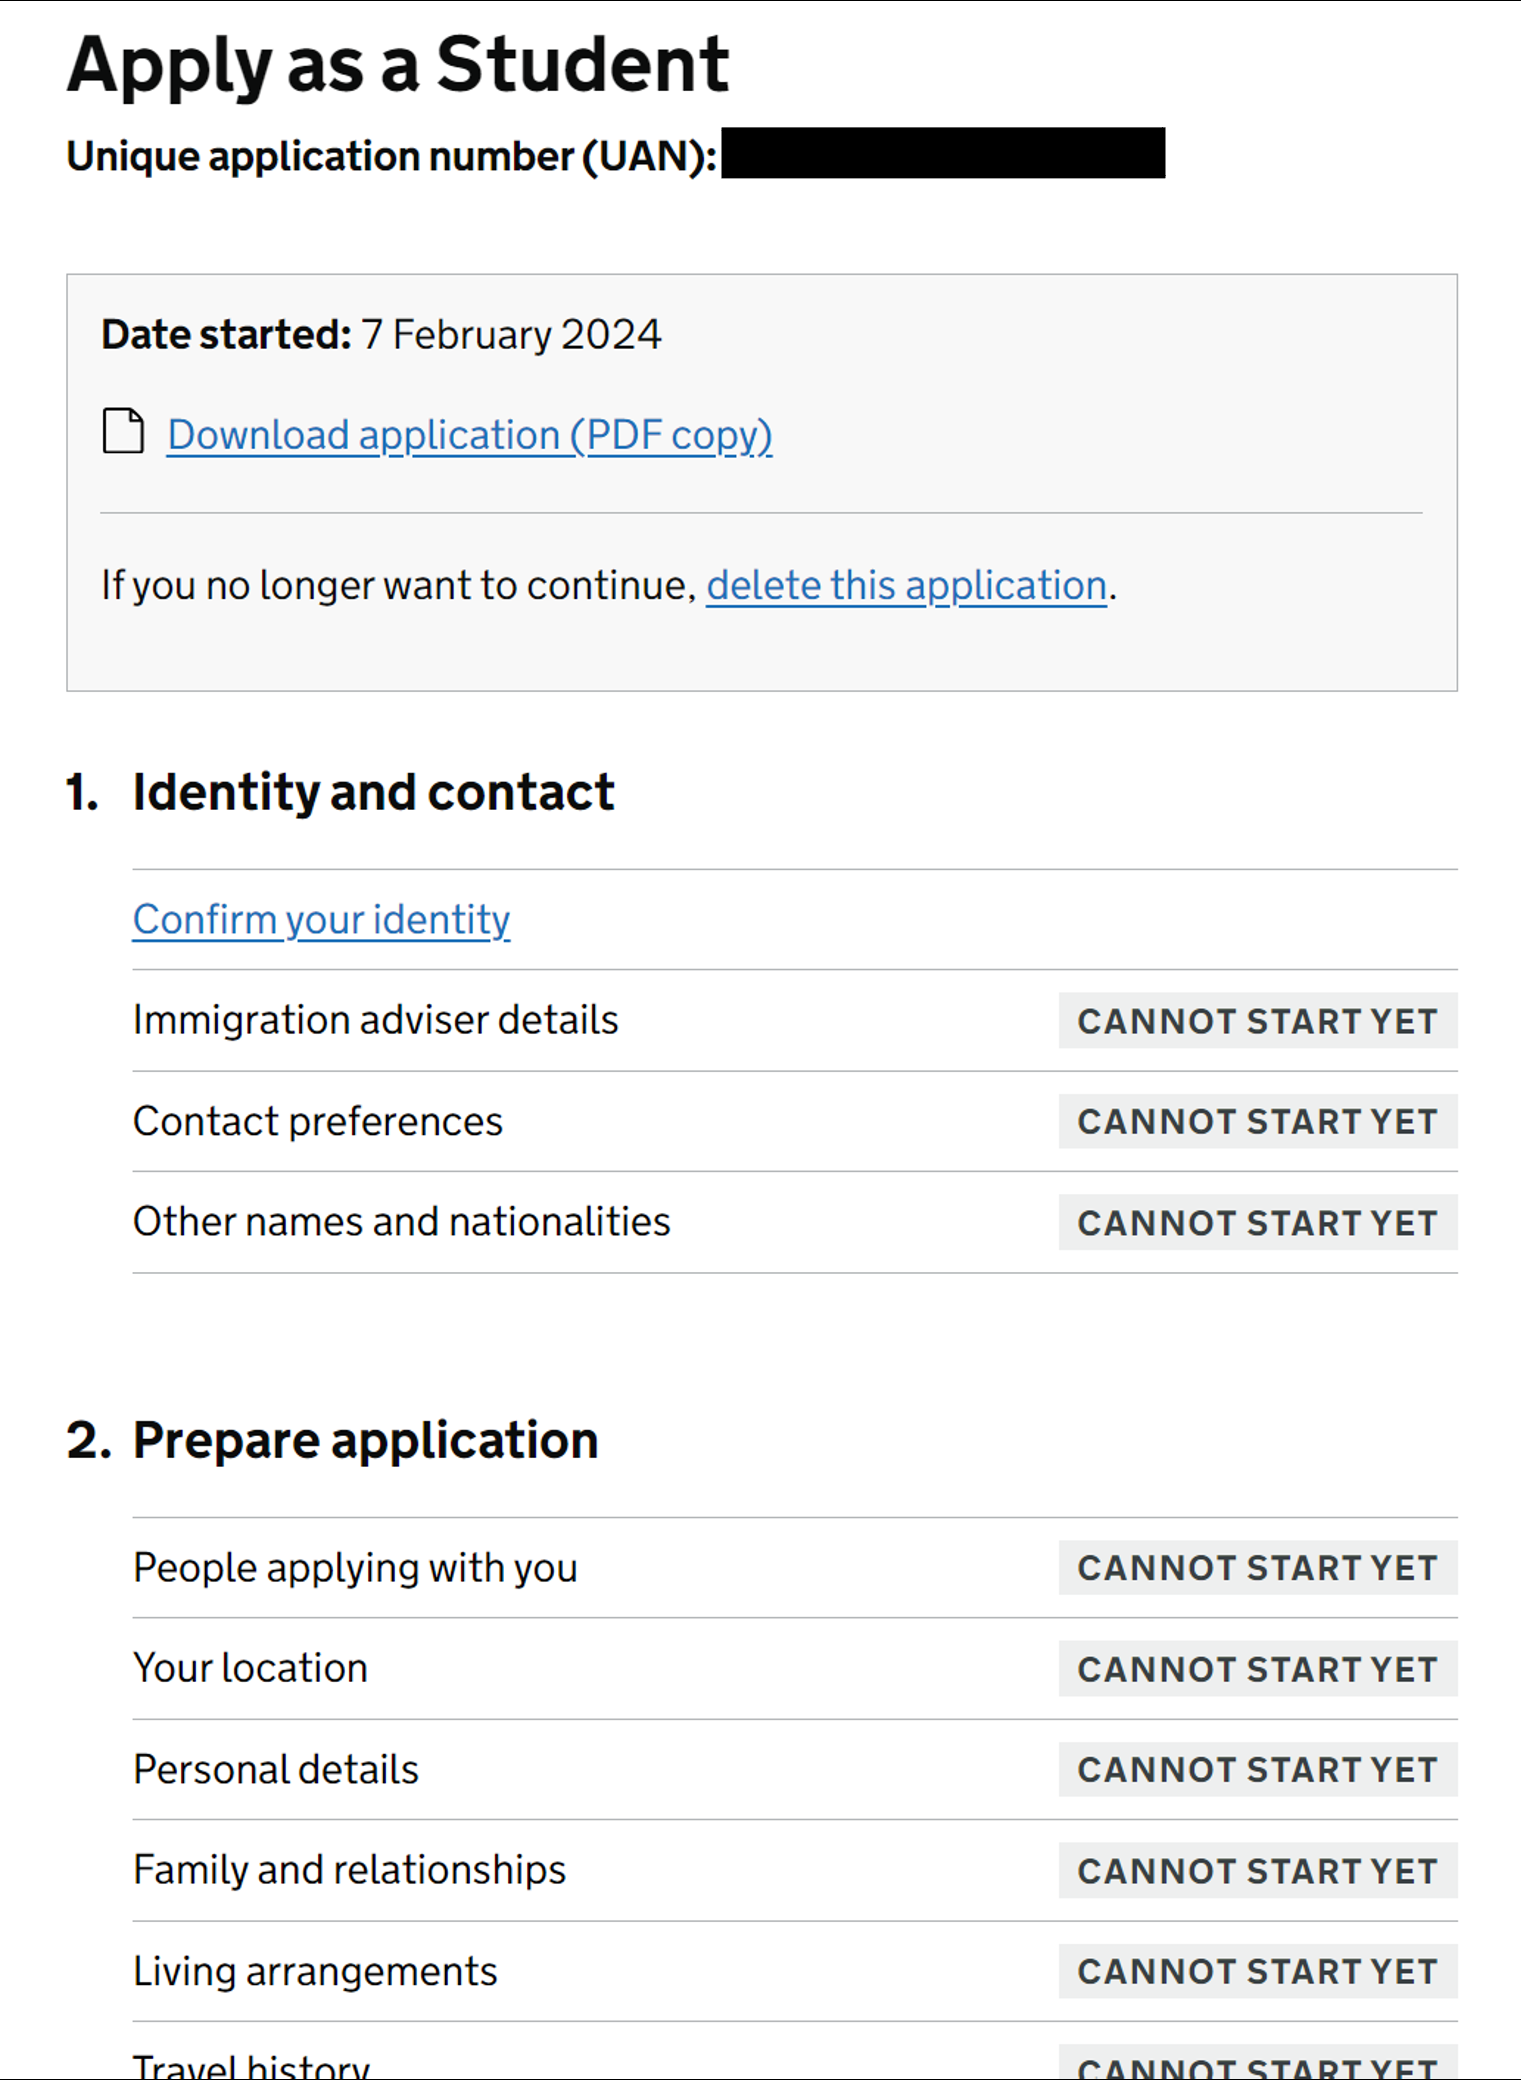
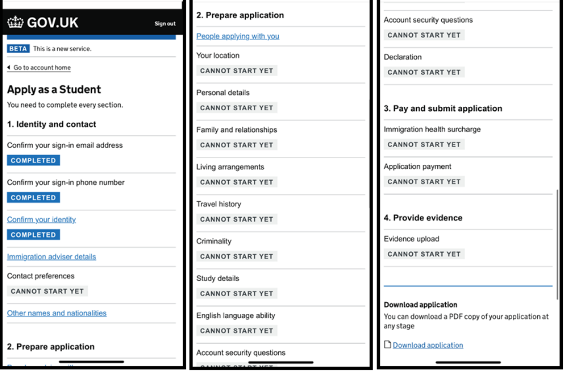
Section checklist
Then you will be presented with a list of sections.
You should start from the top section ‘Confirm your identity’, and work down the list after completing each section.
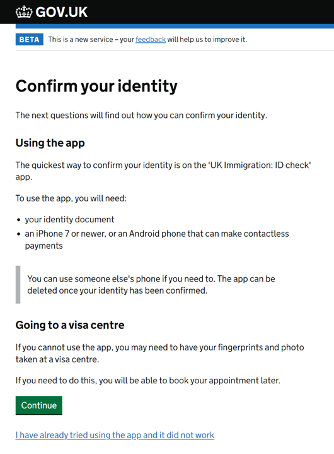
Confirm your identity
Click ‘continue’.
You can use the UK Immigration ID check app on either:
- iPhone 7 or newer model
- Android phone that can make contactless payments
If you do not have either of these you will have to use the application form.
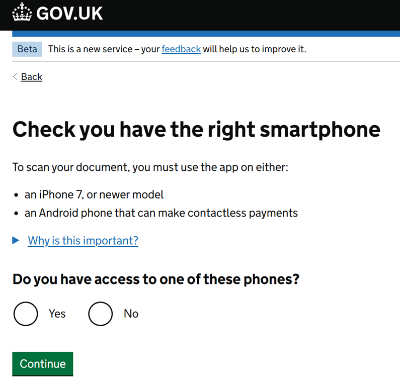
Check you have the right smartphone
If you have one of the devices listed, click ‘Yes’ and then continue. You will be asked to continue on the app.
If you do not have access to one of these phones, click ‘No’ and continue. You will be asked if you can use another phone that fits the requirements – if yes, you can use the app; if no, you will need to confirm your identity and apply a different way – by starting a new application and providing biometrics.
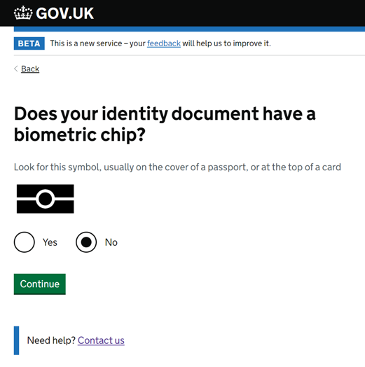
Biometric chip
If your identity document does have a biometric chip, click ‘Yes’. You will be directed on how to use the app.
If your identity document does not have a biometric chip, click ‘No’. You will not be able to use the app, and you will need to confirm your identity a different way.

Download the UKVI ID Check app
If your identity document does have a biometric chip, you will be prompted to continue your application on the app, and connect your app to your account.
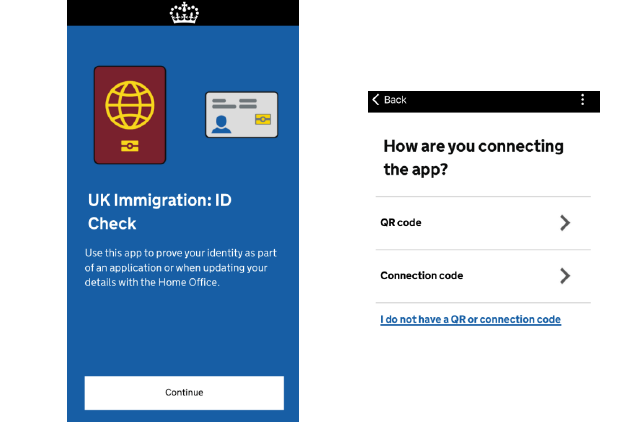
Connect the app
Tap ‘Continue’ and choose to connect the app via either:
- QR code (scan the QR code displayed on your other device from the Home Office website)
- Connection code
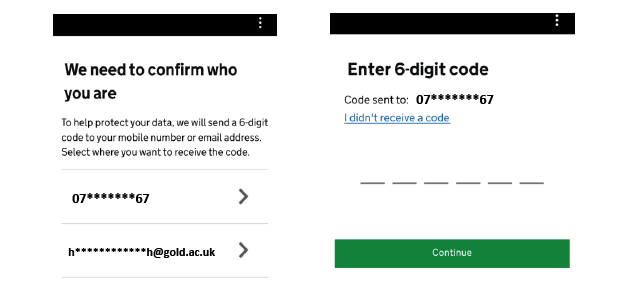
Confirmation code
Next, choose a method to verify your identity.
Verify your identity by entering the code sent to you.
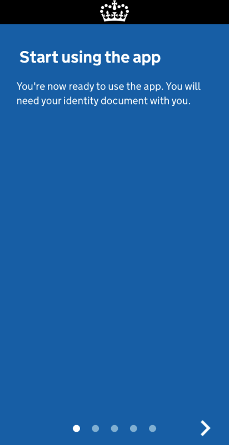
Start using the app
Now you can use the app to continue your application.
Swipe to follow the instructions.
You will need to:
- Take a photo of yourself using the app
- Take a photo of your identity document using the app
- Access the chip in your passport
- Scan your face
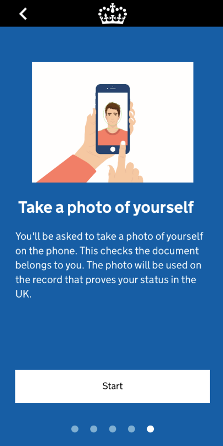
Take a photo
Tap ‘Start’.
Tap ‘OK’ to the following privacy notice on the next screen.
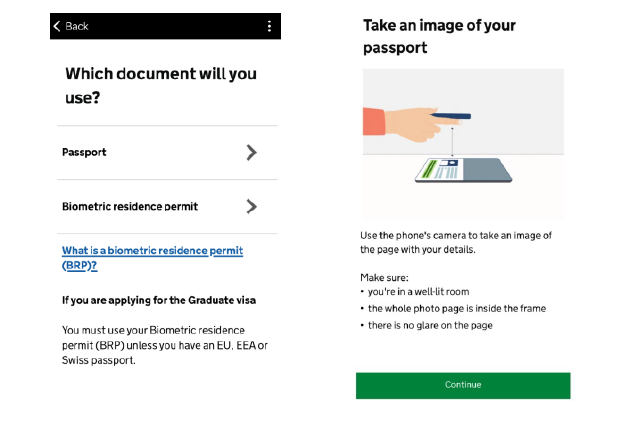
Scan passport
Tap ‘Passport’.
Then on the next screen, tap ‘Continue’.
Next, take an image of your passport, following the instructions shown on screen.

Scan passport chip
Tap ‘Continue’.
Place your phone on the microchip symbol on the front page of your passport. You may have to remove your phone case to allow it to be scanned properly.
Once your microchip has been scanned, you will see a pop-up message confirming ‘Information checked’. Tap ‘OK’
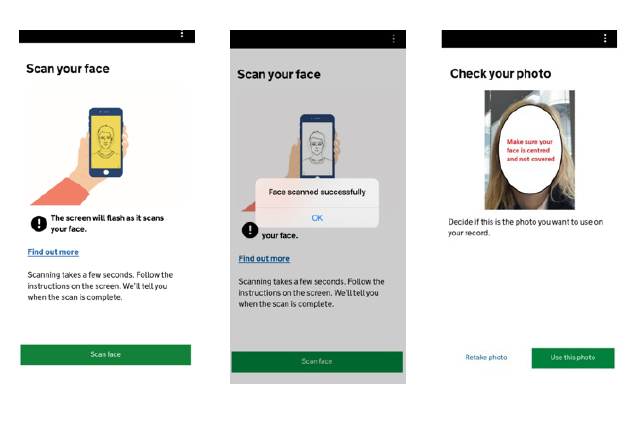
Scan your face
Tap ‘Scan face’.
Once your face has been scanned, you will see a pop-up message confirming ‘Face scanned successfully’. Tap ‘OK’.
Take a photo of your face.
Check your photo.
Tap ‘Use the photo’.
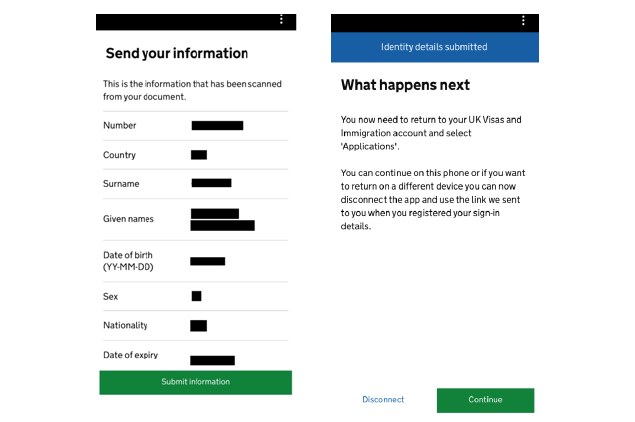
Submit information
Once you have confirmed your identity, you can complete the rest of the application either on that device or any smartphone, tablet, laptop or computer.
Once you have completed your application, you do not need to keep the app downloaded on your phone.
If your application is successful, you can travel to the UK using your digital immigration status. You will not get a vignette (sticker) in your passport.
If you tap ‘Continue’ on the app, you will be redirected to your application page on the government website.

Information submitted
Once you are on the government website, log in using the documents you used to make the application and verify your identity when prompted.
Once you’re logged back in, you will see that your identity information is submitted (if you have completed the steps on the ID Check App successfully). Click ‘Continue’.
Application form
You will see a summary of all the sections you need to complete.
Please refer to the Application Form guide for more guidance on completing these sections.
If you have any questions, please contact the Immigration Advice Team.
Once you’ve completed all the steps (including the payments for your IHS and visa fee) make sure you download a copy of your application for future reference.
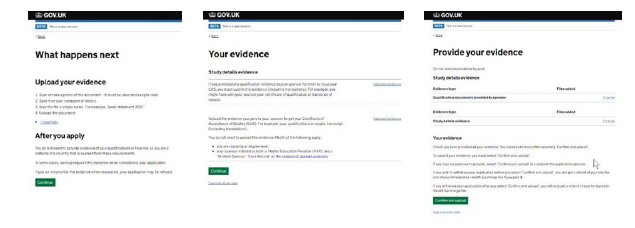
Provide evidence
Click ‘Continue’.
Upload the required documents as instructed on the page. Your evidence page may look different to the example above, depending on your circumstances.
If there is any additional document you want to submit, and there is no relevant section for it, you can still upload it in any section as all the documents will be sent to the caseworker.
After you’ve uploaded all your documents, or even if you are not required to upload any documents, you will need to click ‘Confirm and upload’ to proceed.
Finalising your application
Keep a copy of your submitted application and any evidence you submitted in support of your application and save in a secure location electronically.
If UKVI contact you to request any additional information or documents, you must contact the IAS team before replying to them by emailing immigration (@gold.ac.uk).
Save any correspondence you receive about your visa application including automated emails and confirmation emails.
Regularly check your email (inbox and junk / spam mail folders) and your mobile phone SMS messages for the contact details you have provided for any updates about your visa application.
You may be contacted about your application, to invite you to a visa interview or to request your attendance at the Visa Application Centre for another reason by email or phone.
When your visa application is decided, you will normally be notified by email along with a Visa Decision Letter.
If you think you have made a mistake on your application form after you have submitted it, please contact us immediately so that we can advise you on the options available to you. Some mistakes are minor and are unlikely to affect your application. However, some errors can lead to a refusal - for example failing to declare a past refusal or an application made for a UK visa.